
By the team at Cob Services LLC — Licensed Electricians in Naperville, IL (License #26-00032356)
Replacing an outlet looks like a ten-minute job. Two screws, a couple of wires, snap the cover back on. That’s the version people picture when they call us, and it’s usually why they’re surprised the electrician spends as much time checking as swapping.
Here’s the honest truth after years of doing this across Naperville: the removal-and-replace part really is quick. What separates a safe outlet job from a hazard behind the wall is everything that happens around it — confirming the power’s truly dead, reading what the old wiring is telling you, and matching the new receptacle to what the room and the code actually require.
So if you’ve got a cracked, loose, scorched, or just plain tired outlet and you want to know what a real replacement involves before you call, this is the full walkthrough — the way we actually do it on a Naperville service call.
First: why outlets get replaced at all
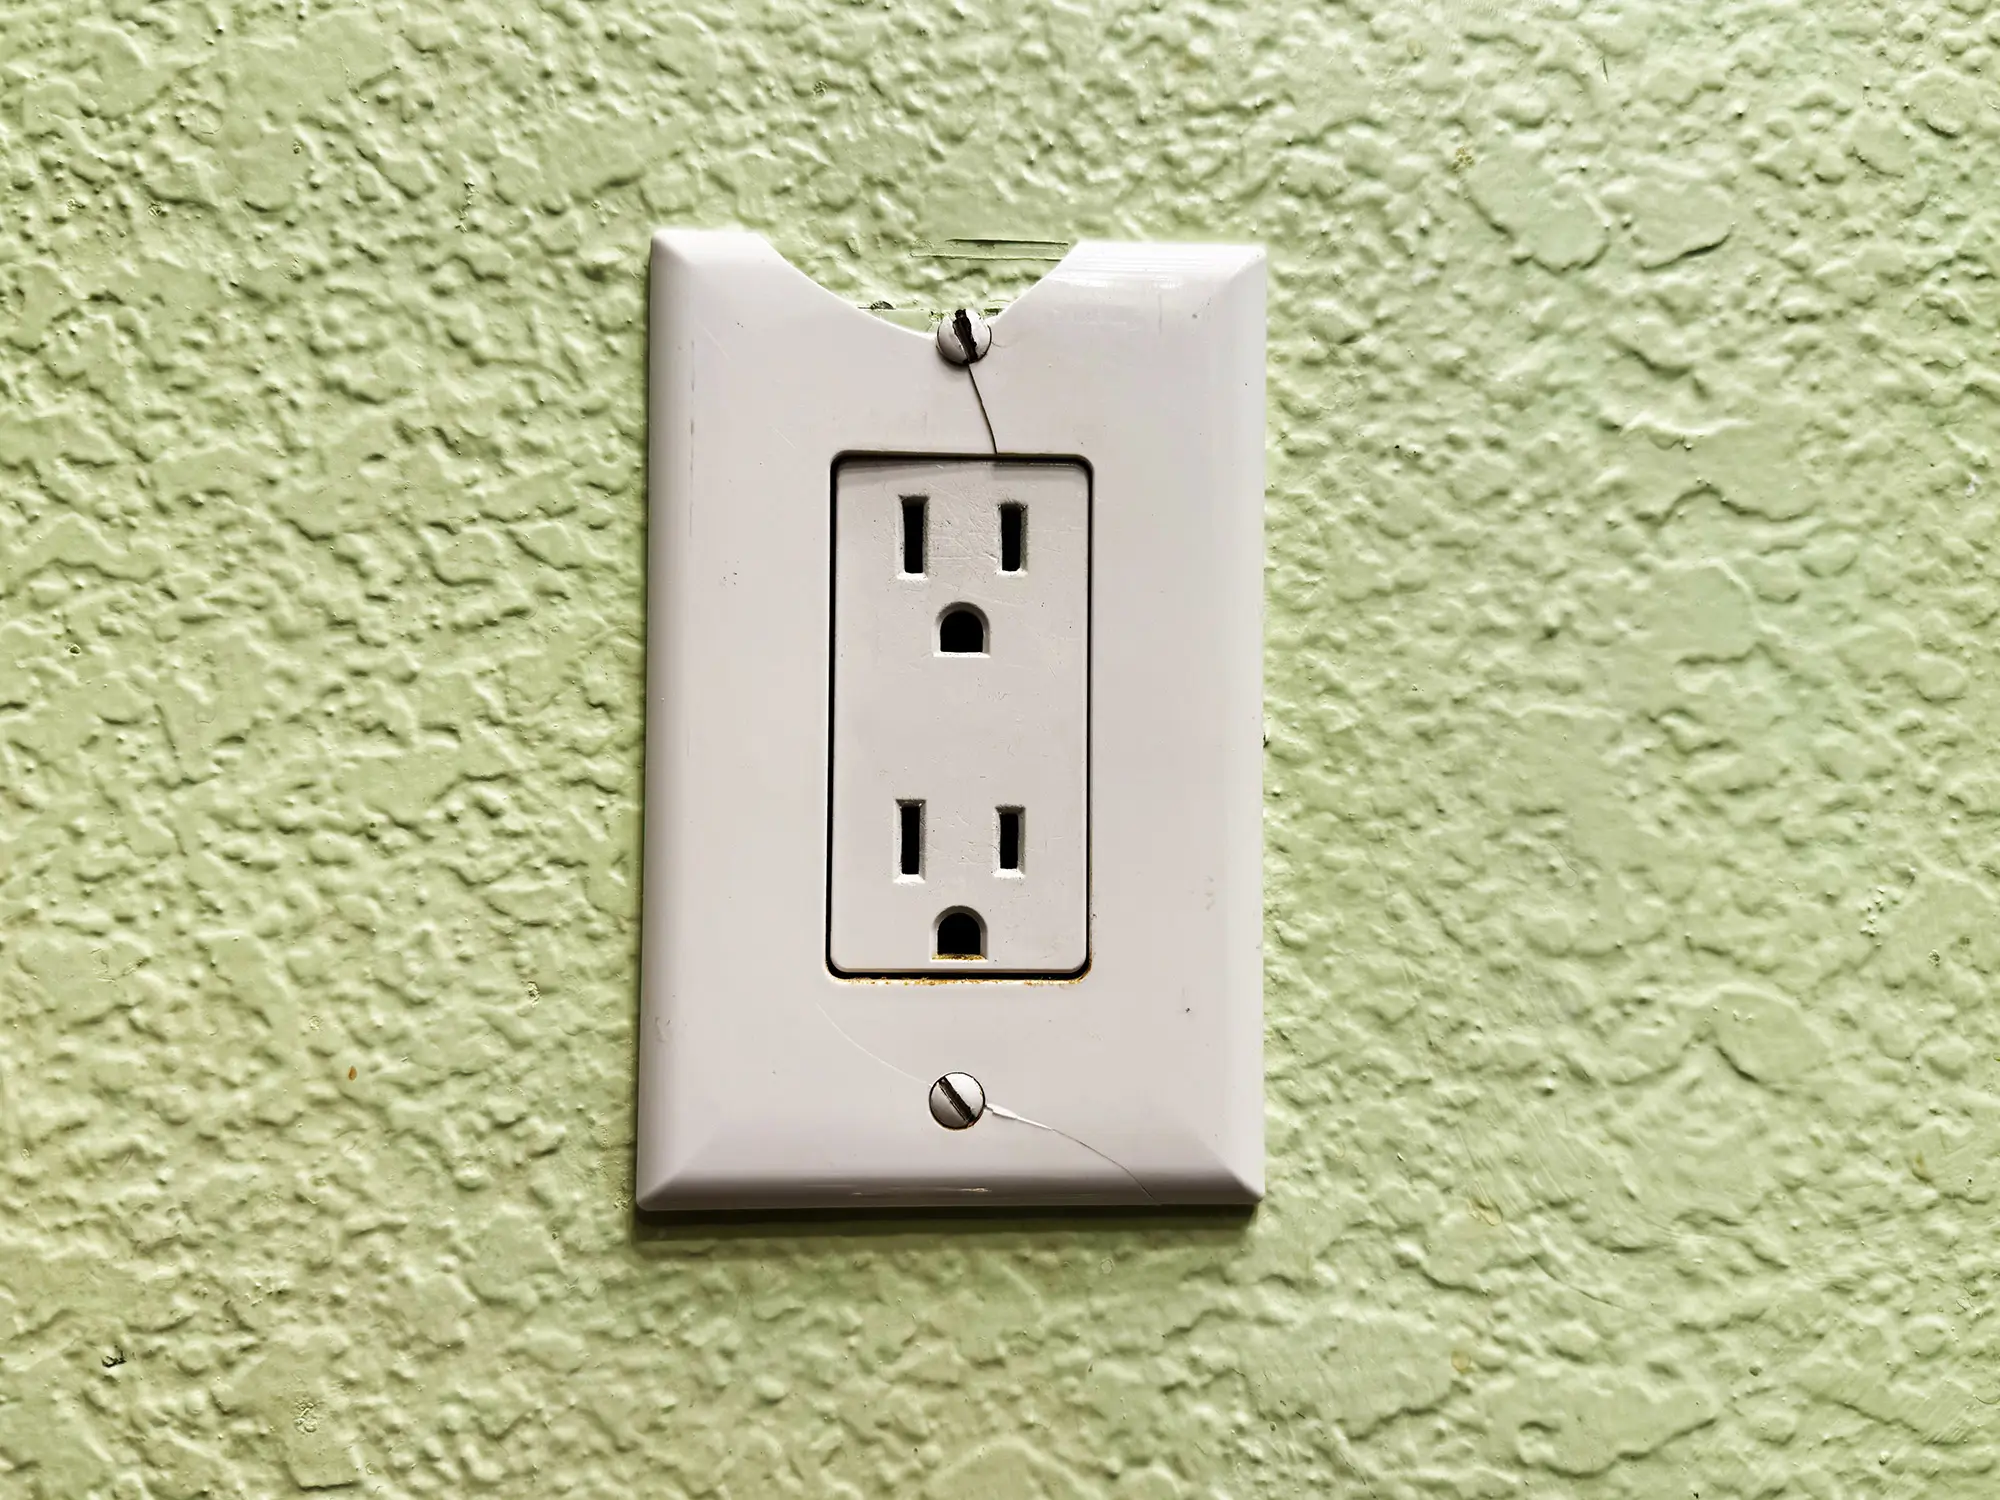
People rarely replace an outlet for fun. It’s almost always one of these:
- The plug falls out or wobbles — the internal contacts are worn, and a loose grip means arcing and heat
- It’s cracked, discolored, or warm — visible damage or heat is a stop-using-it sign
- It’s a two-prong (ungrounded) outlet — common in older Naperville homes, and a safety and convenience problem
- It’s near water and isn’t a GFCI — kitchens, bathrooms, garages, and outdoor spots need ground-fault protection
- It’s painted-over, scorched, or buzzing — all reasons to retire it
- A remodel or new appliance needs a different outlet — think a 20-amp kitchen circuit or a dedicated line
That last point matters, because the reason for the swap changes the job. Replacing a worn bedroom outlet with the same type is simple. Bringing an old two-prong up to modern grounded, tamper-resistant, GFCI-protected standard is a different scope — and it’s often the smarter move once the wall’s already open.
The outlet replacement process, step by step
Here’s what actually happens, in order, when we replace an outlet properly.
1. We identify the circuit and kill the power
Before anything, we find the breaker feeding that outlet and switch it off. Then — and this is the step DIYers skip — we verify the outlet is dead with a tester, not just assume the right breaker got flipped. Mislabeled panels are extremely common in older homes. A circuit you think is off but isn’t is how people get shocked. We confirm zero voltage at the outlet before a screwdriver touches it.
2. We remove the cover and pull the receptacle
Cover plate off, mounting screws out, and the receptacle eases out of the box. This is where the outlet starts talking. The way the wires are landed, the color and condition of the insulation, the state of the box — it all tells us what we’re working with before we go further.
3. We inspect the wiring and the box
This is the part that separates a professional job from a parts swap. We’re checking:
- Is there a ground wire? Many older Naperville homes have two-wire systems with no equipment ground. That changes what outlet is legal to install and whether outlet grounding work is needed.
- What’s the wire condition? Brittle, cracked, or heat-darkened insulation is a red flag that the problem isn’t just the outlet.
- Aluminum or copper? Some homes from a certain era have aluminum branch wiring, which needs specific, listed devices and connections — not a standard receptacle.
- Is the box overcrowded or damaged? Too many wires, a cracked box, or no box at all all get addressed here.
- How was it wired — screws or backstab? Cheap “backstabbed” connections (wire pushed into a hole instead of wrapped under a screw) are a frequent cause of loose, arcing outlets. We land wires on the screw terminals for a solid connection.
If we find something beyond a simple swap — say, no ground, damaged wire, or signs of past overheating — this is the point where we tell you honestly what we found and what it’ll take to make it right. No surprises after the fact.
4. We choose the right replacement receptacle
Not all outlets are interchangeable. Matching the receptacle to the location and code is a real decision, not a default. Depending on the spot, the correct device might be:
- A standard 15- or 20-amp grounded receptacle
- A GFCI for anywhere near water — kitchen counters, bathrooms, garages, outdoors, unfinished basements
- A tamper-resistant receptacle, now required by code in living areas — the internal shutters that keep kids from inserting objects
- An AFCI-protected outlet where arc-fault protection is required
- A dedicated or higher-amp outlet if a specific appliance calls for it
For a plain-English rundown of outlet types and what each one protects against, the non-profit Electrical Safety Foundation International has a solid homeowner guide. Getting this choice right is code compliance and safety in one move — the wrong device in the wrong spot can pass a quick glance and still leave the room unprotected.
5. We land the wires correctly and torque them
New receptacle, wires wrapped clockwise under the terminal screws (or on a proper listed connection), and every screw tightened to spec. This sounds fussy, and it is on purpose: a loose terminal is the number-one cause of an outlet that overheats months later. Over-tight damages the device; too loose invites arcing. There’s a correct torque, and we hit it.
6. We seat the outlet, add the plate, and restore power
The receptacle goes back into the box neatly — wires folded so nothing’s pinched — the cover plate goes on, and we flip the breaker back.
7. We test everything before we leave
This is the close-out most people never see. We test the outlet with a plug-in tester to confirm correct polarity and a proper ground. On a GFCI, we press Test and Reset to confirm the protection actually trips. We check that nothing on the same circuit went dark. Then, and only then, is the job done.
A proper single-outlet replacement usually takes us about 20 to 45 minutes. If it turns into grounding work, a box replacement, or a wiring repair, it takes longer — but you’ll know that before we start, not after.
The Naperville-specific part: older homes tell on themselves
A lot of the housing stock around Naperville, Lisle, and Downers Grove was wired decades ago, and outlets are where the age shows up first. We regularly open a box expecting a five-minute swap and find a two-wire ungrounded system, a backstabbed connection that’s been quietly arcing, or brittle insulation that crumbles when touched.
None of that means your house is unsafe to live in. It means the outlet was the visible symptom of something the wall was hiding. That’s exactly why we inspect instead of just swap — because in an older home, the outlet is often the canary, not the whole story. Sometimes the right answer is a grounded GFCI retrofit; occasionally it’s a sign the circuit deserves a closer look or the panel is worth evaluating.
Can’t I just replace an outlet myself?
You can — it’s legal for a homeowner to do minor electrical work on their own home in most of Illinois. But here’s the fair version of the trade-off:
The swap itself isn’t hard. The judgment around it is where people get into trouble: assuming the breaker is off without testing, reusing backstab connections, installing an ungrounded three-prong outlet that looks right but has no ground behind it (a real and common hazard), or missing that a spot legally needs GFCI or tamper-resistant protection. Those aren’t visible mistakes. They’re the kind you don’t find out about until something arcs, trips, or fails an inspection when you sell.
If it’s a like-for-like swap on a grounded circuit and you’re comfortable testing for dead voltage, plenty of homeowners handle it. If there’s any smell, scorch mark, heat, no ground, aluminum wiring, or you’re just not sure — that’s a call worth making. And if you ever see sparking, smell burning, or an outlet is hot to the touch, don’t swap it, cut the power and treat it as an electrical emergency.
Why homeowners have us do it
- We test for dead voltage before touching anything — no assumptions
- We inspect the wiring and box, not just the device — so you fix the real problem once
- We match the receptacle to code — GFCI, tamper-resistant, AFCI where they belong
- We land wires on screws, torqued to spec — no backstab shortcuts
- We test every outlet before we leave, GFCI trip included
- Licensed (#26-00032356) and insured, and the owner stays your point of contact
The bottom line for Naperville homeowners
The process of an outlet replacement is short on the swap and long on the checking — and that’s the whole point. Killing and verifying the power, reading the old wiring, picking the code-correct receptacle, making a tight connection, and testing the result is what turns a ten-minute part swap into an outlet that’s safe for the next twenty years.
If you’ve got an outlet that’s loose, cracked, warm, ungrounded, or just overdue, we’ll replace it right — and tell you plainly if we find anything behind it worth addressing. Serving Naperville, Lisle, Aurora, Plainfield, Bolingbrook, and Downers Grove.
Request service online or call (630) 427-5923 — you’ll talk to an electrician, not an answering service.
Frequently Asked Questions
How long does it take to replace an outlet?
A straightforward like-for-like outlet replacement usually takes about 20 to 45 minutes, including testing. If the job involves adding a ground, replacing a damaged box, or repairing wiring, it takes longer — and we’ll tell you the scope before starting.
Do I need an electrician to replace an outlet in Naperville?
Homeowners can legally do minor electrical work on their own home in most of Illinois, but a licensed electrician is the safer call if the outlet is ungrounded, warm, scorched, wired with aluminum, or near water where GFCI protection is required.
What’s the difference between a regular outlet and a GFCI outlet?
A GFCI (ground-fault circuit interrupter) outlet shuts off power almost instantly if it senses electricity leaking to ground — the kind of fault that causes shocks near water. Code requires GFCI protection in kitchens, bathrooms, garages, basements, and outdoor areas. A standard outlet has no such protection.
Why does my outlet feel warm or won’t hold a plug?
A warm outlet usually points to a loose connection or an overloaded circuit, and a plug that won’t stay put means the internal contacts are worn. Both are reasons to replace the outlet — and to have the wiring behind it checked, since heat is often a symptom of a bad connection in the box.
Can I replace a two-prong outlet with a three-prong one myself?
Not safely without confirming there’s a ground. Simply installing a three-prong outlet on an ungrounded two-wire circuit gives you an outlet that looks grounded but isn’t — a real hazard. A licensed electrician can either establish a proper ground or install GFCI protection, which is a code-recognized fix for ungrounded circuits.
Cob Services LLC — Licensed & Insured Electricians in Naperville, IL. License #26-00032356. Serving Naperville, Lisle, Aurora, Plainfield, Bolingbrook, Downers Grove, Hinsdale, Burr Ridge, La Grange, and surrounding DuPage and Will County areas. 2020 Calamos Ct Suite 200, Naperville, IL 60563 · (630) 427-5923 · 24/7 emergency service.